How to Cut a Shower Tray
How to Cut a Shower Tray
Read our guide on how to cut a shower tray, and find out some of our top tips to achieving the perfect install every time.
Cutting a shower tray
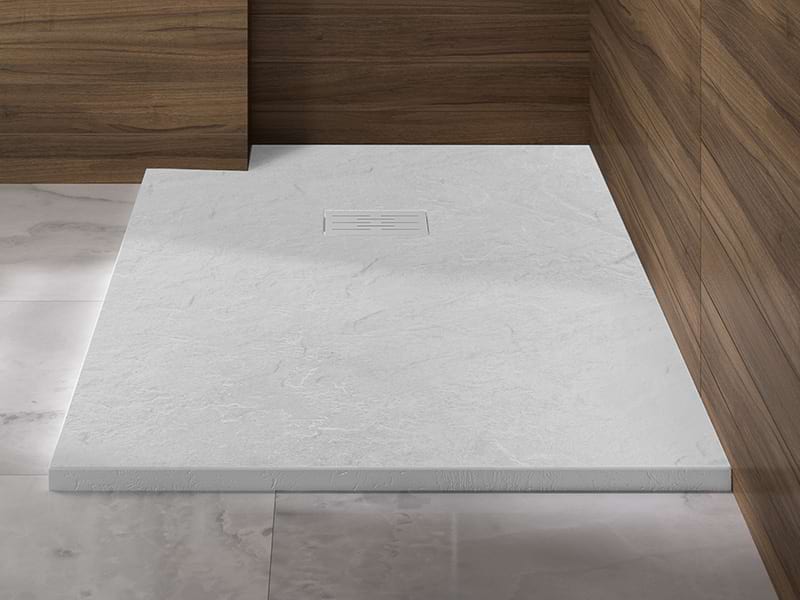
Cutting a shower tray is often necessary to achieve a precise fit, especially in renovation projects where walls aren’t perfectly square, pipe boxing is present, or space is limited. All Kinedo trays are cuttable, and doing so correctly is essential to maintain structural integrity, ensure proper drainage, and achieve a professional finish.
This guide covers the essential preparation, tools, and techniques required to safely and accurately cut a Kinedo shower tray.
Step-by-Step Guide to Cutting a Shower Tray
1) Identify cuttable areas
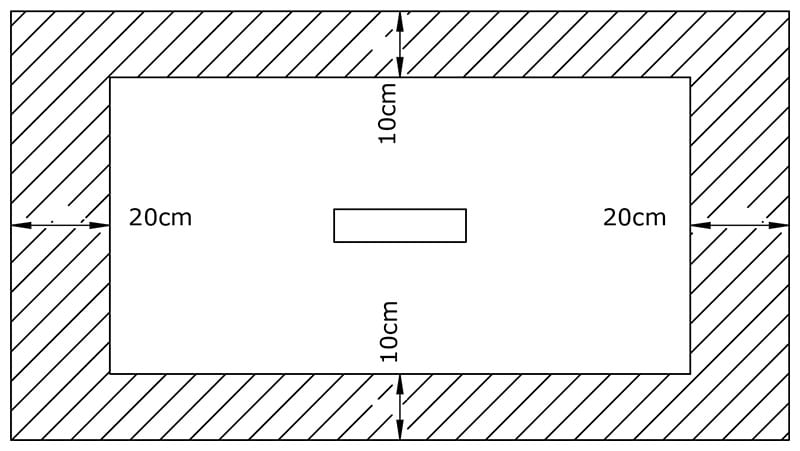
Before any cutting takes place, consult the tray’s installation manual to confirm the maximum cutting zones. Each of our trays instructions specify these areas to avoid damaging structural ribs or drainage channels. Cutting beyond these limits will impact the performance of the tray and void the warranty.
The diagram below shows an example of a cutting zone diagram from our rectangular Kinemoon Style trays:
2) Measure carefully and mark the cut line
Measure the installation area, allowing for wall coverings such as tiles or panels. Transfer the measurements onto the tray and double-check all dimensions.
Mark the intended cut line clearly using a pencil and straight edge. Use masking tape along the cut line to improve visibility and help reduce edge chipping.
3) Cut the tray using the correct tool and blade
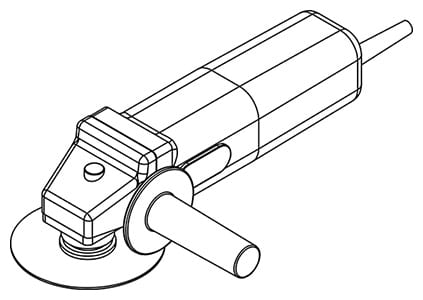
Use an angle grinder fitted with a diamond blade with a minimum diameter of 230 mm. Diamond blades provide clean, precise cuts and are suitable for dense composite materials.
Cut steadily along the marked line without forcing the blade. Allow the tool to do the work and maintain full control at all times.
Safety essentials:
- Wear eye protection, gloves, and a dust mask
- Secure the tray on a stable work surface
- Ensure adequate ventilation
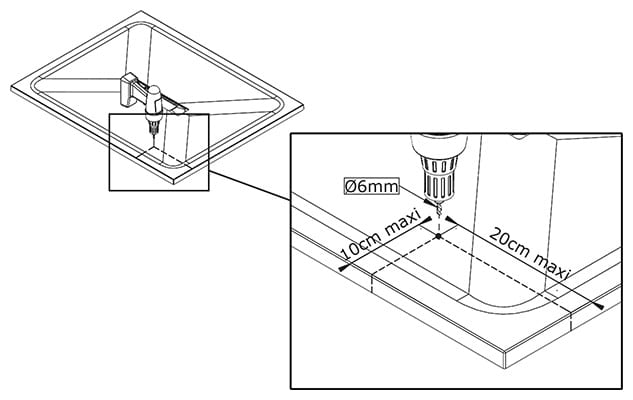
Drill a relief hole for corner cuts
If you need to create a corner cut (for example, around pipe boxing or a wall projection), drill a 6 mm diameter hole at the internal corner before cutting the straight lines.
This prevents stress cracking and creates a smooth transition point between cuts.
4) Seal and reinforce the cut edge
After cutting, the exposed internal structure must be sealed to maintain strength and water resistance.
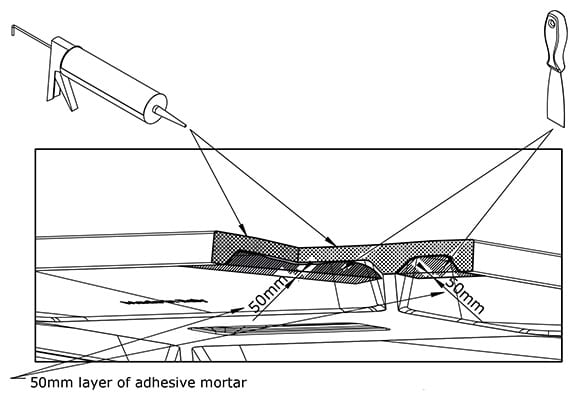
Using a spatula:
- Apply a polyurethane adhesive or MS polymer layer over the raw cut surface
- Fill the spaces between the tray ribs with adhesive mortar
This restores rigidity and protects the tray from moisture ingress.
5) Follow installation instructions if fitting on riser feet
If the tray is being installed on adjustable feet, refer again to the installation manual. Cutting may affect support locations, and positioning of the feet at specific locations may be required.
Why Choose Kinedo Shower Trays
All Kinedo shower trays are designed with installers in mind and can be cut on-site, on all sides to achieve a precise fit. The only exception is the Kineline, where the waste position limits cutting on one side, and our quadrant trays which are only cuttable on the two straight sides.
Kinedo trays are manufactured from Biolex, a high-quality composite material that offers:
- Excellent strength and durability
- Reliable performance after cutting and installation
- Anti-slip surface ratings for improved safety
They are also available in a range of contemporary colours and finishes, allowing installers and homeowners to match modern bathroom designs with confidence.
Technical Support and Further Information
Installation manuals for all Kinedo shower trays can be downloaded directly from the relevant product pages on our website.
If you need further assistance with cutting or installing a Kinedo shower tray, contact the Kinedo technical team on 020 8842 0033 (Mon to Fri, 9:00 am to 5:00 pm), or leave us a message.
To learn more about the full Kinedo range, order a free printed brochure.
Share this content